Bathtub crack repair with the right tools and materials isn’t as hard as it sounds. With the right tools and materials you can restore your bathtub in a few hours we will show you how.
Common Causes of Bathtub Cracks
Age and Wear: Just like anything else, bathtubs can wear down over time. High traffic can lead to stress on the material, causing cracks.
Temperature Changes: Extreme heat or cold can make bathtub materials contract and expand, which can lead to cracking.
Improper Installation: If a bathtub isn’t installed correctly, it may not support the weight evenly, leading to cracks over time.
Understanding these causes can help you prevent future issues.
Tools You’ll Need for the Crack Repair
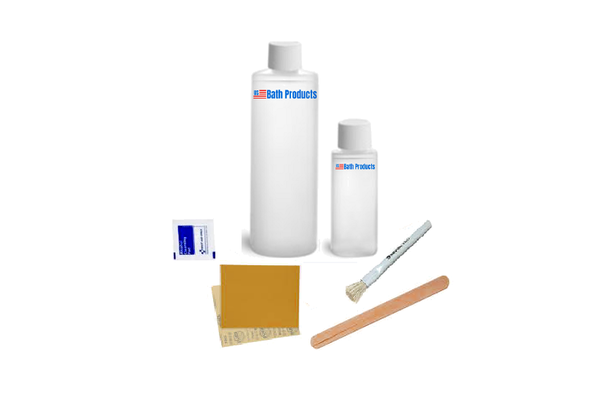
Bathtub repair kit: These kits usually include everything needed, like a filler, sandpaper, paint or a repair inlay.
Cleaning supplies: Soap, water, and a sponge to clean the area.
Masking tape: For protecting the surrounding area while you work.
Putty knife: For applying the filler and adhesives smoothly.
Step-by-Step Guide to Repairing Bathtub Cracks provided with your bathtub repair kit
Methods Used For Repairing Bathtub Cracks
There are two methods for repairing bathtub cracks they include purchasing a bathtub repair kit or using a bathtub floor repair inlay kit. A repair kit is used for small cracks and chips while an inlay kit is used for major cracks or holes in the floor of your bathtub. Each has their own steps for preparation and installation.
Both bathtub repair methods require cleaning of the damaged area with soap and water for proper adhesion and some sanding.
Using A Bathtub Repair Kit
1) If you’re using a repair kit to fix minor cracks follow the instructions included in the kit. Typically, you’ll mix the filler (if necessary) and apply it directly into the crack using the putty knife. Make sure it’s packed in well, filling all gaps.
2) After applying the filler, use your knife to smooth it out so it’s even with the rest of the tub. Then, place masking tape around the repaired area to prevent messes while it dries.
3) Let the filler cure according to the instructions on the kit. Timing can vary, but it’s important to be patient. While waiting, avoid using the tub to ensure a solid repair.
4) Once the filler is dry, use sandpaper to smooth out any rough edges. If your bathtub is colored, you might also need to paint the area to match. Many repair kits include colored filler for this purpose and do not require painting.
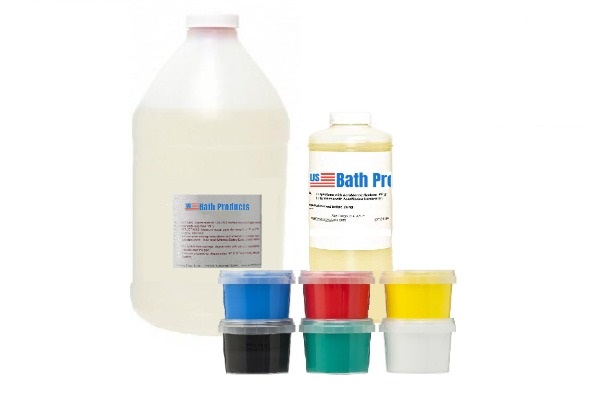
Using A Bathtub Crack Repair Floor Inlay Kit
1) Most bathtub floor cracks need support under the repair area before the installation of an inlay. To support the cracked floor you will be using expanding insulation foam following the instructions that come with the inlay.
2) Determine where to place the repair inlay and then outline the inlay on the floor by using masking tape.
3) Using sandpaper rough up the area you just outlined this will allow proper adhesion for the inlay. Clean all sanding debris from the repair area.
4) Mix the glue or adhesive and apply it to the repair area per the instructions then install the inlay.
5) Using a roller start at the center of the inlay working to the outer edges to push bubbles out of the adhesive. Excessive adhesive will be squeezed out onto the masking tape.
6) Remove the masking tape and allow the inlay to cure 24 hours before use.