Sink chip repair may seem like a big deal but the fact is a small crack or chip can be a do-it-yourself project. Simple steps you can take on a budget to repair your damaged sink so let’s get started.
What is Sink Chip Repair?
Sink chip repair means fixing those ugly chips rust stains or cracks in your sink. These chips and damage can happen from a hard object hitting the sink or from daily use. Instead of replacing the whole sink, you can save money and fix it yourself. It can be a fun little project, and you’ll feel proud once your sink looks brand new!
Why You Should Repair Sink Chips
You might wonder why bother fixing those chips. Here are a few reasons:
Cost-Effective: Buying a new sink can be expensive. Repairing a sink is a quick way to save money.
Looks Better: A chipped sink can make your kitchen or bathroom look old and worn and outdated.
Prevents Further Damage: Ignoring a chip may lead to bigger cracks and more issues down the road.
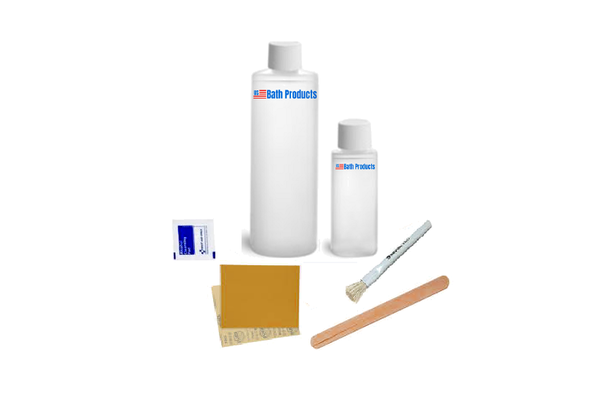
Tools and Materials You’ll Need
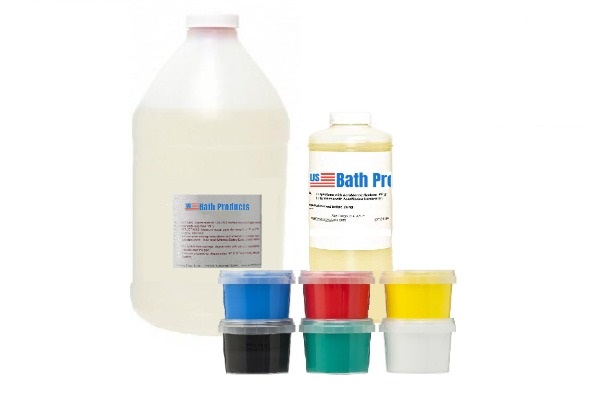
Sink chip repair kit
Sandpaper ( med & fine grit)
Cleaning cloth
Paint that matches your sink’s color
Small brush or applicator
All of the materials and tools needed are included in our repair kits available here.
Step-by-Step Guide to Repairing Sink Chips
Step 1: Clean the Area
Start by cleaning the chipped area with a cloth. Make sure there’s no dirt, grease, or soap. A clean surface helps the repair material stick better.
Step 2: Prepare the Sink Repair Kit
Mix the repair compound according to the package directions. If you have a repair kit, follow its instructions for preparation. This step is crucial. You want to ensure that everything is ready for a strong bond.
Step 3: Apply the Sink Repair Material
Using a small brush or applicator, carefully add the repair material to the chip. Don’t be afraid to fill it up and spread it evenly across the chipped area.
Step 4: Smooth it Out
After applying the repair material, use sandpaper to smooth it out once it’s cured. You want the surface to feel as smooth as the rest of your sink. This might take a little time, but it’s worth it to get a flawless finish.
Step 5: Paint for a Perfect Match
If your sink has a color, you might need to paint over the repair. Use a paint that matches your sink. For many, this is the final touch that makes a big difference. Our sink repair kits are already colored so once it’s dry, you’re all set!