Is the clearcoat on your hot tub faded or damaged making your oasis look tired and worn out? Let’s examine ways you can repair the clearcoat on your hot tub and restore its luster.
Understanding Clearcoat Damage
Clearcoat is the protective layer that keeps your hot tub looking fresh and new. Over time, sun exposure, harsh chemicals, and scratches can cause this layer to fade or peel. Think of clearcoat like sunscreen for your hot tub it protects the surface from the elements. When it breaks down, your hot tub loses its charm.
Signs Your Hot Tub Needs Clearcoat Repair
How can you tell if your hot tub’s clearcoat needs repair? Look for these signs:
Fading Colors: If your hot tub’s vibrant hues are turning dull, it’s time to take action.
Peeling or Flaking: If you can see parts of the surface that are lifting, those areas need repair.
Scratches and Scuffs: Damage from use can make your hot tub look old and neglected.
Noticing these issues means it’s time for clearcoat repair. Why let your favorite spot in the backyard look shabby?
DIY Clearcoat Repair Steps
Getting your hot tub back to its shiny self isn’t as complicated as it sounds. Here’s what to do:
1. Gather Your Supplies
Before you start, make sure you have everything you need:
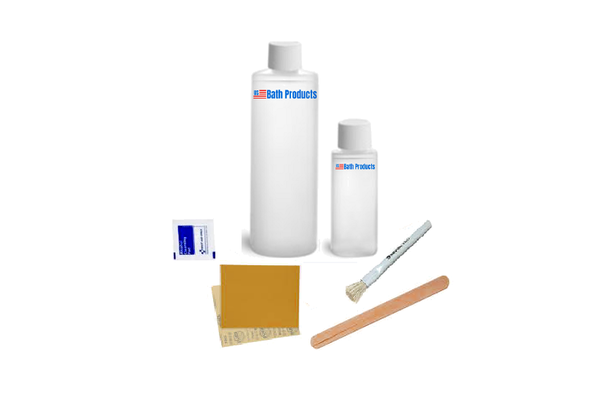
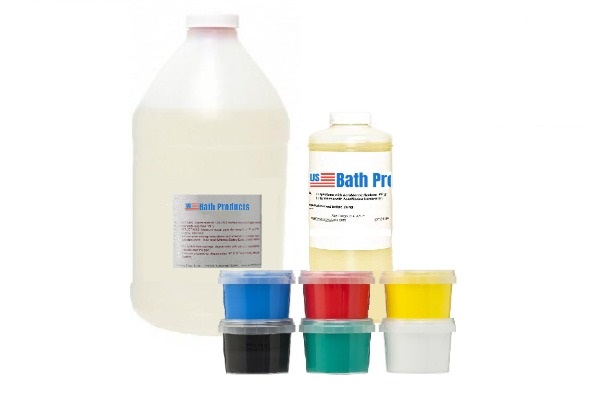
Clearcoat paint or repair kit
Sandpaper (fine-grit)
Soft cloth
Paintbrush or smooth roller
2. Clean the hot tub surface
Start by cleaning the area thoroughly. You want to remove grime, dirt, silicone, grease and any leftover chemicals. A simple soap-and-water wash followed by rinsing will do the trick. Let it dry completely. For tougher stains use Acetone.
3. Sand the Damaged Area
Gently sand the areas where the clearcoat is peeling or scratched. This helps the new coat stick better. Be gentle; you don’t want to sand too deeply. Just enough to create a smooth surface.
4. Apply the New Hot Tub Clearcoat
Using a paintbrush or roller applicator, apply the clearcoat evenly. Start from the edges and work your way in. It’s like putting icing on a cake—smooth and steady gets the best results. Allow the first coat to dry completely before applying a second coat for extra protection.
5. Let It Cure
After applying the final coat, give it adequate time to cure normally 24 hours depending on the product used. Make sure no rain or dew is expected you don’t want the coating to get wet while curing. Patience here is key; rushing this step might ruin your hard work.
Why It’s Worth It
Repairing the clearcoat on your hot tub can give it new life. Not only does a fresh coat revive its look, but it also helps prevent further damage. You’ll enjoy soaking in a hot tub that feels like it’s brand new, and that’s worth every second you spend repairing it.


